When you set up your menu, you define the items for sale in your restaurant and the manner in which they appear in the POS app. Categories allow you to organize your items for quick navigation in the POS. You can add modifiers for your menu items and create discounts and special pricing events. Some features are only available at the company level.
At the company level:
At the store level:
Using CATEGORIES AND ITEMS
At the company level, you can add categories and items, import items, download an item list, and sort the order. At the store level, you can only add items for your store. You cannot add categories at the store level.
Company Level CATEGORIES & ITEMS
Store Level CATEGORIES & ITEMS
Creating an Item at the Company Level for Specific Stores
By default, when creating an item at the company level, the system assigns the item to all stores. To assign an item to a specific store, it is necessary to identify the stores at which the item is available. You can also edit an item to modify the stores for which it is available. Refer to Creating Items, Modifier Groups, and Modifier Items
On the item screen, the system identifies the stores to which you assigned the item. If the item is available to all stores, All Stores appears next to Assign Stores.
Creating an Item at the Store Level
At the store level, you can create an item for use in your store; however, you cannot assign the item to other stores or assign modifier groups to the item. To assign modifier groups to the item, switch to the company level, select the item, and add the modifier groups to it.
To assign the item to other stores, switch to the company level, and assign the item to the stores where you want to make it available. Refer to the section ‘Creating an Item at the Company Level for Specific Stores,’ for more information.
Filtering the Item Availability View
At the store level, you can filter which items to view on the CATEGORIES AND ITEMS screen. You can elect to view ‘All Items,’ which may include items not available at your store, or ‘Items Assigned to My Store.’ By default, the store level displays ‘Items Assigned to My Store.’
To filter the items view, select the CATEGORIES & ITEMS screen, and select All Items or Items Assigned to My Store from the ‘Filter by’ drop-down list.
Using MODIFIERS
At the company level, you can add modifier groups and modifier items; however, at the store level, you can only edit the pricing and availability for individual modifier items.
Company Level MODIFIER GROUPS
Store Level MODIFIER GROUPS
Using DEPARTMENTS
Use the Departments menu to organize your categories to enable you to view report data by specified departments. You create departments at the company level and they apply across all stores. The DEPARTMENTS menu is read-only at the store level.
Company Level DEPARTMENTS
Store Level DEPARTMENTS
Using TAGS
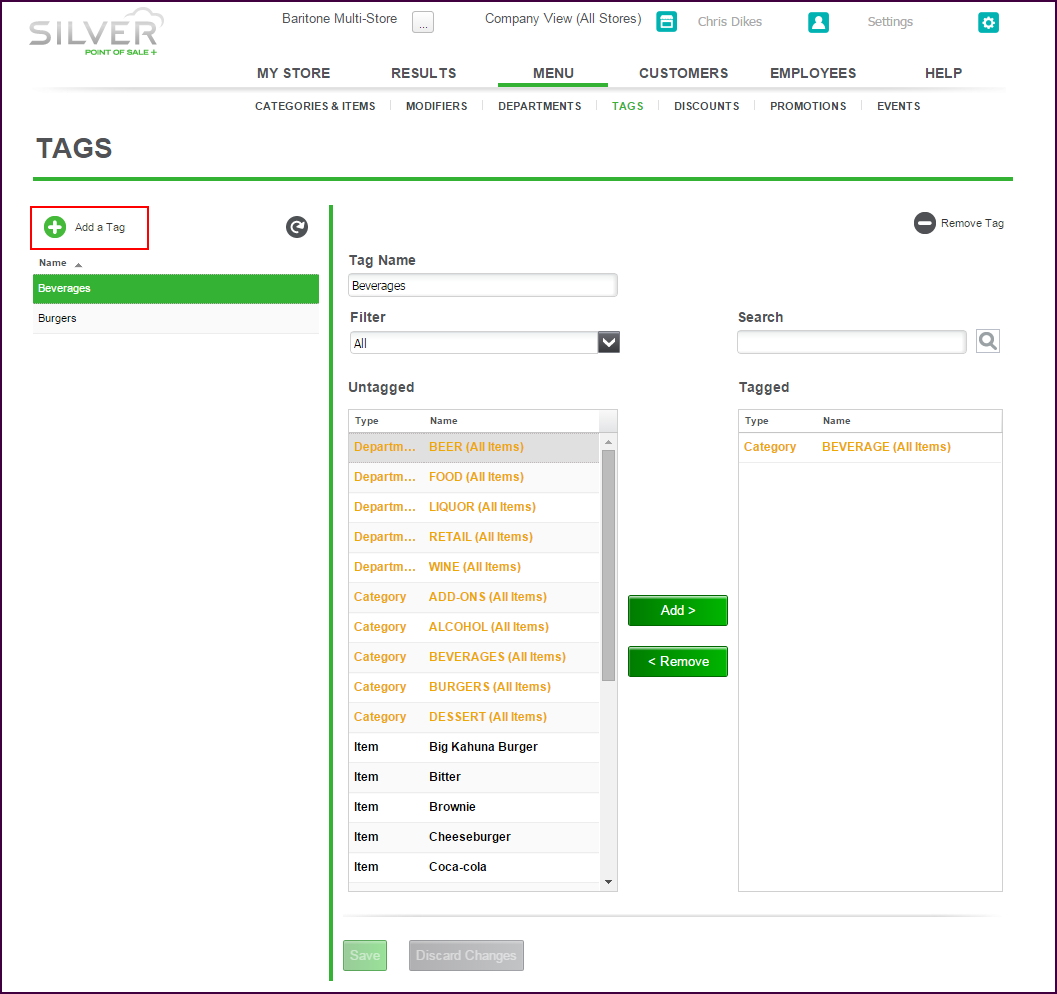
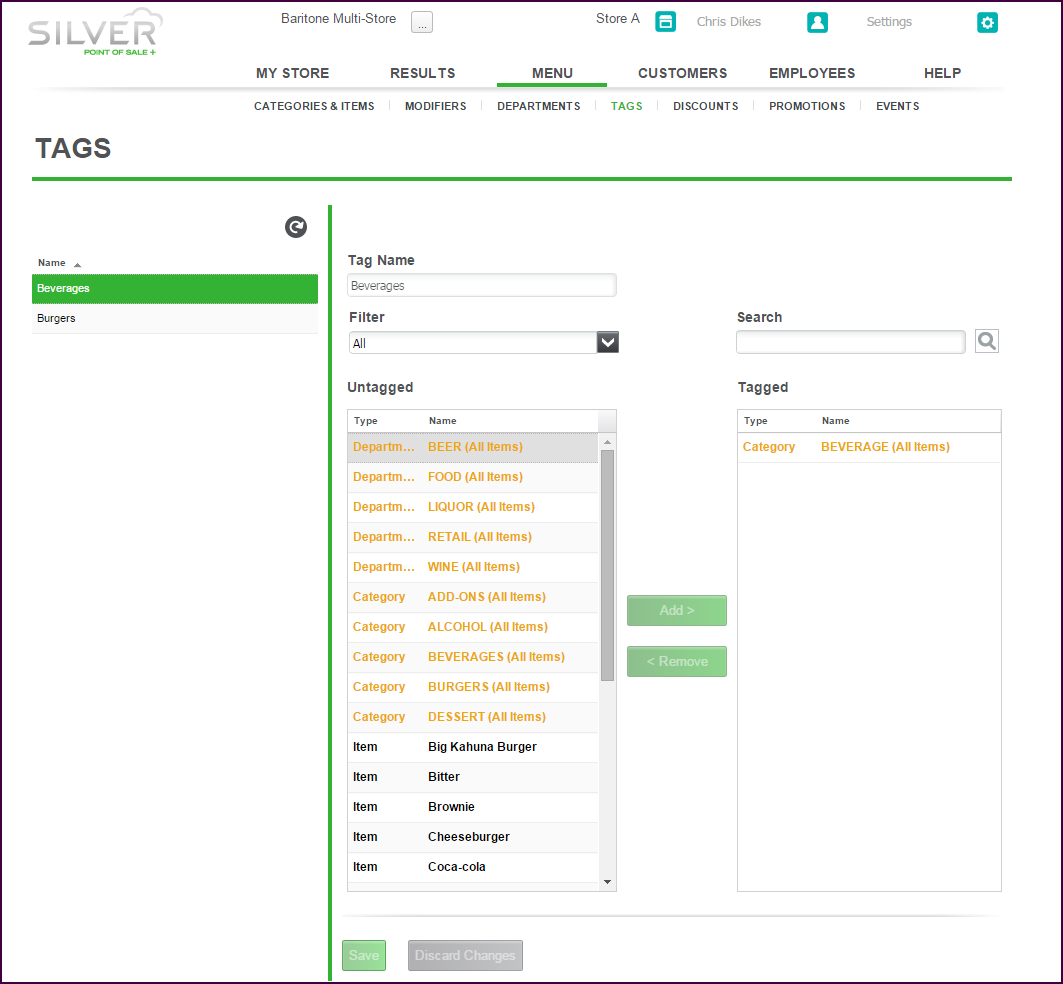
Tags are a way to group items for promotions, You can tag departments, categories, individual items, and items with variations. You can only create tags at the company They are read-only at the store level.

Company Level TAGS

Store Level TAGS
Using DISCOUNTS
Use the Discounts menu to create a means by which you can provide discounts to your customers. The system allows both item level and ticket level discounts. You can also promote your discounts in email marketing messages to your customers.
You create discounts at the company level and they apply across all stores. The DISCOUNTS menu is read-only at the store level.
Company Level DISCOUNTS
Store Level DISCOUNTS
Using PROMOTIONS
Promotions are an advanced form of discounts, for things such as BOGO, combos, coupons, and other types of discounts. You can create promotions at both the company and store level. When logged in at the store level, you cannot edit promotions created at the company level nor can you view promotions created at other stores.
Company Level PROMOTIONS
Using EVENTS
Use the Events menu to establish special pricing for use during specific times of the day, such as during Happy Hour, or on a specific day of the week, such as every Sunday. First, define when each event is to occur, and then access each of the items subject to the special pricing and designate which events apply to the items and at what price you wish to sell the item during the event time frame.
At the company level, you create events, and then add the event and event price for each item you desire. At the store level, creating events, adding an item to or from an event, and editing event pricing is read-only.
Company Level Event Schedules
Store Level Event Schedules
Using PRICE LISTS
Price Lists are a convenient way to manage all of your prices in one place without having to access each record. You can create price lists at the company level and assign them to stores. At the store level, you can create and edit price lists created at the store level.
Company Level PRICE LISTS
Store Level PRICE LISTS


